Northumberland Diary. Entry 212.
Repotting
Undoubtedly, the most important part of the cycle for show plants, or other plants that live in pots, is the annual repot. This is usually undertaken after flowering, and as the main flush of flowering for the earlier show subjects is now through, it is a good time to undertake much of the annual repot, especially now while the weather is cool and showery. I have discussed before the choices to be made; whether to repot or just to use liquid feed for another year; if repotting is chosen, then whether the plant's rootball should be reduced in size so it will fit the same pot, or whether to pot up; and if the latter, where is the new larger pot going to go in the (already overfull) plunge?!
Oer the last couple of days I have repotted about 30 show subjects. As the weeks go by I shall probably have to repot at least as many again, but many drabas, androsaces etc are still in full flower and I have let them be. Over the last six years and more than two hundred diary entries, I seem not to have talked about how I repot, so I took the opportunity to take a few pictures as I did so.
Here first is the potting shed. In reality it is one of two garages (the other one houses the car!). It is in its usual state of chaos and is in dire need of a tidy and good clear out (and some purpose built potting racks), but this is where the potting is carried out.
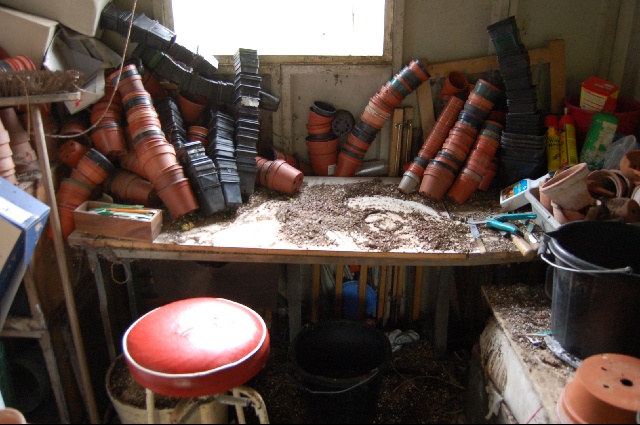
Most of the above is self-explanatory. The buckets under the bench take old compost. When full these are lifted into a barrow and taken to the other end of the garden where the old soil is stacked, and eventually used to make new beds in the garden. The bucket on the right hand side takes grit top dressing, which is then used as drainage in new pots. The box on the left has labels and a pencil, and the right hand area has old broken pots for crocking.
The first thing is to choose some pots for repotting. Here are three, lifted from the plunge; fairly small primulas which have finished flowering and are root-bound, with roots emerging from the drainage hole. They will be taken to the potting shed.

Next job is to mix a batch of potting compost. If there are a lot of pots to be redone, and most have similar soil requirements, I tend to make a mix in a barrow, using a spade to thoroughly integrate the ingredients (I reckon it takes 50 digs with the spade for the mix to be complete). This time I have been mostly potting European primulas, with some drabas, violas, gentians and saxifrages. All take my standard non-acidic potting mix, which is two parts John Innes 2 (JI2) to one part gritty sand and one part perlite. To this I add a handful of slow-release fertiliser (usually 'Miracid'), and sometimes a handful of powdered dolomite, depending on the plants involved.
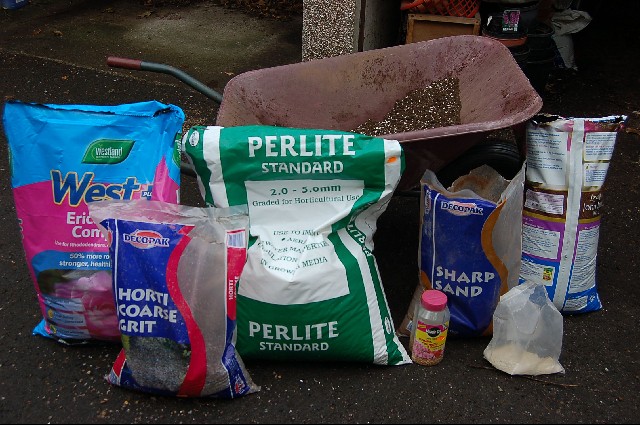
Until recently I have been very concerned about the John Innes component, and I have written about this before. Reading the last issue of 'the Alpine Gardener', and the useful forum pulled together by Vic Aspland concerning composts in general, and JI in particular, it was noteworthy that most top growers were very fussy about the JI component of their composts and either made their own, or bought the Ashworth purpose-made compost (at a considerable price). As I live 200 miles from this source, it is not really an option. Fortunately, our local garden centre has just started stocking a Levington compost which claims to be made in the 'traditional' way with good loam, and indeed it does seem to have much better physical properties than most recent so-called John Innes Composts. The bag is furthest right in the next photo, which shows the various ingredients lined up and readty to be mixed in the barrow (there is also a bag of quite a good Ericaceous mix, manufactured by the Irish firm 'Westland', which is much better than their standard composts; of course this is not used in the present mix, but I included it in the picture for the sake of completeness).
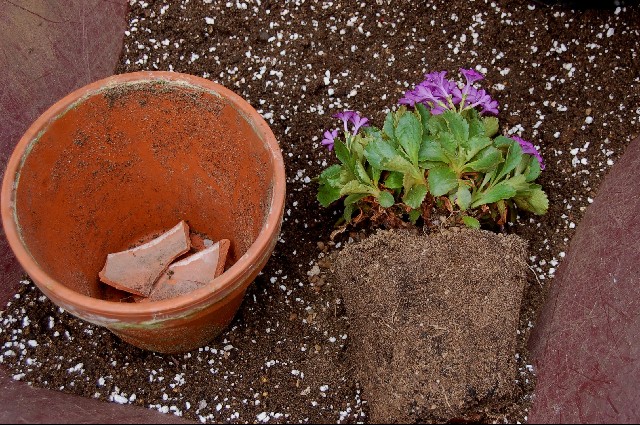
So here is the chosen subject (a rather pot-bound Primula pedemontana which is flowering much less freely this year than last when it won a red ticket at the International Show), together with the pot that it is due to go into. I would normally undertake the following process in the potting shed, but I have taken the photos outside for clarity.
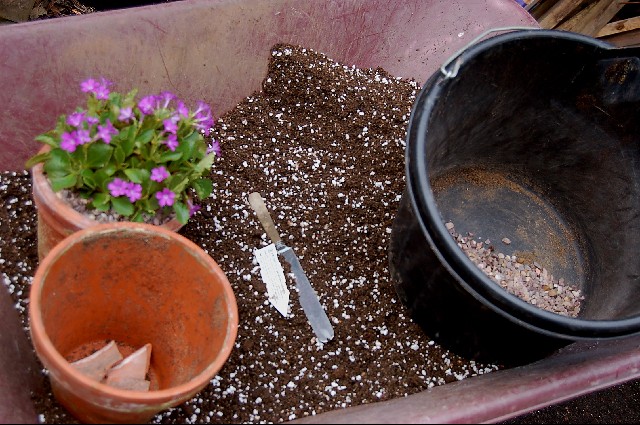
The label has been taken out and put on one side, the new pot has been crocked, and next the thin-bladed knife (an old table knife) is worked round the edge of the pot. This is VITAL. Never try to unpot a plant in a crock pot without running a knife right round the pot.
The plant is then carefully eased from the pot. It is useful to stick a pencil, or finger-end, into the drainage hole to force the root-ball upwards. Once free of the pot the root-ball is handled very carefully and usually kept horizontal.
Drainage material (old top-dressing) is then put in the pot which is filled with new compost enough for the root-ball to rest at the correct height in the new, larger, pot. It is most important that it is not too low or too high. It is then held in a central position.

New compost is now worked round the sides of the pot. Another important point is to not put too much in at first, or the plant will lose its central position. The second handful should go in directly opposite the first to counteract the weight of compost from that side, and then dribbed in gently into the remaining spaces, taking care always that the root-ball remains central. When the compost reaches the base of the plant, I then bang the pot firmly onto the bench to settle the compost, and add top-dressing (holding back the foliage as I do so), taking care that it is tucked up to the crown of the plant, so that there is good drainage at the 'neck'.
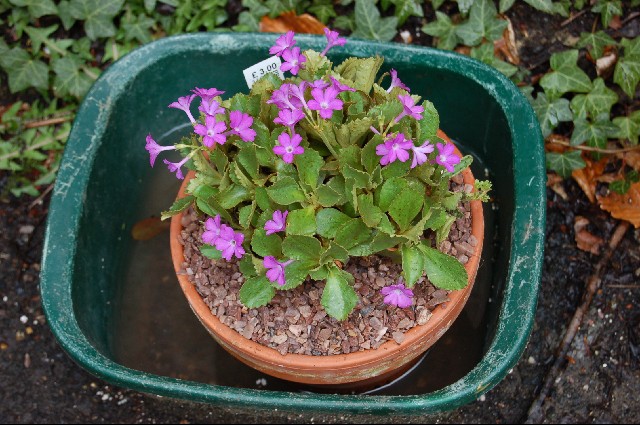
The plant is then put in a bowl of water for at least five minutes so that the compost is saturated from below, to settle the roots.
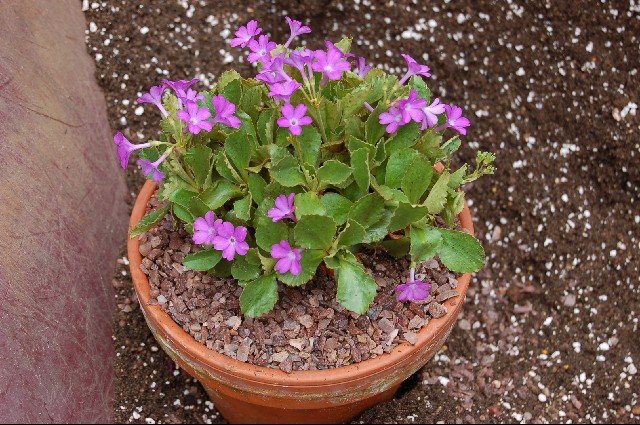
Finally the repotted plant is put back in the plunge. Notice the automatic watering system. The plunge is drip-watered twice a day for 15 minutes in the summer months. With crock pots, the water seeping into the porous pot from the plunge is sufficient to keep the plant watered (but this will not easily rewet an overdry pot, hence the good soak after repotting). Here, in my rather shady north-facing garden in Northumberland I find it is unnecessary to shade the house. Undoubtedly, automatic watering increases the humidity, which helps to off-set the heat in full sun.
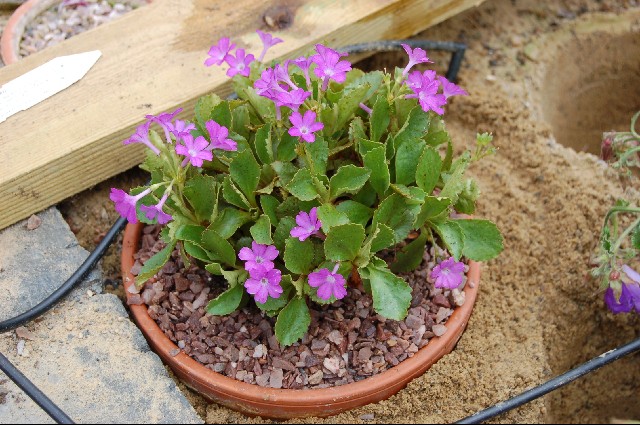
One of the benefits of repotting is that it often allows one to repair damage. I had a lovely cushion of the Turkish form of Saxifraga pedemontana. Under glass during the sunny days in late March it was severely scorched on part of the cushion. It was already overlapping the pot and due a repot. While it was out of the pot I was able to carefully open up the cushion and using a fine pair of scissors (another invaluable piece of equipment by the way) I snipped out the scorched branches, about 20% of the whole cushion. When repotting, the cushion was carefully remoulded so that the hole was almost unnoticeable, and I expect the slight imperfection that remains will now disappear. Unfortunately I have no 'before' picture, but here is the plant after repotting.
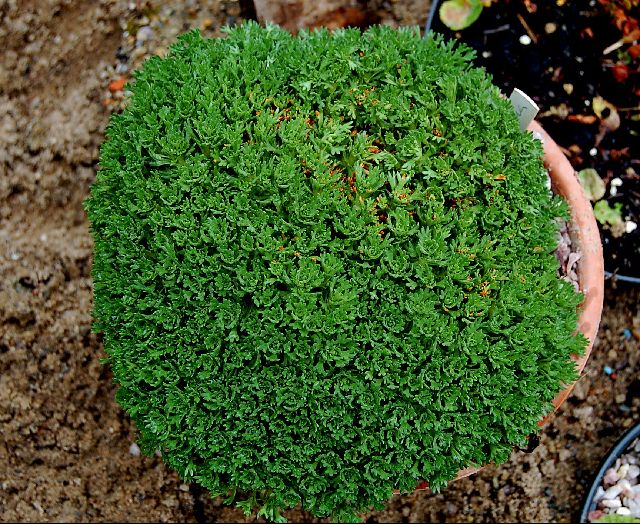
The saxifrage has now been put outside in a plunge by the way, as it prefers to be cool and wet in summer (but not in winter!).
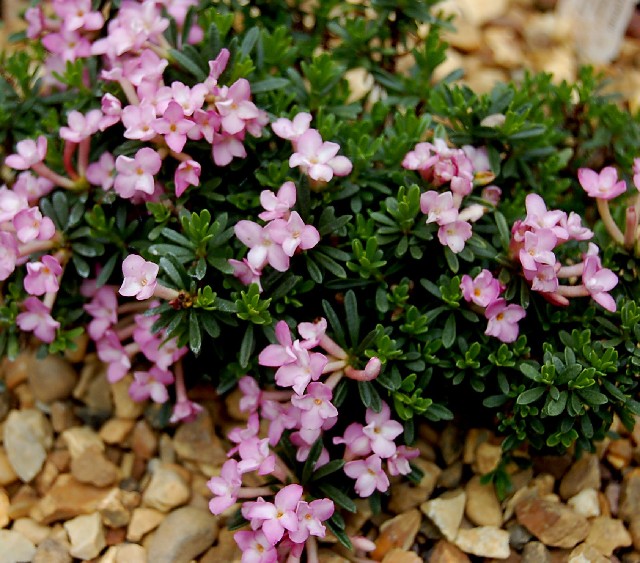
Just a few plants that are flowering now. First, Daphne x whiteorum 'Beauworth'. This lovely cross was made between between my two favourite daphnes, D. jasminea and D. petraea, but I find it less free-flowering than either.
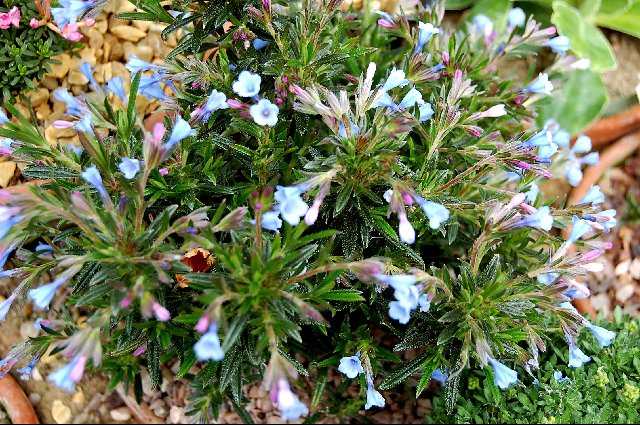
Here is another dwarf shrub, Lithodora zahnii 'Azureness'. This is a local endemic from the south-west of the Greek Peloponnesos where is grows in limestone crevices in ravines, sometimes by the road. It is a lovely thing, and surprisingly hardy for a plant which grows so far south at low altitudes, but it is definitely a plant for alpine house culture.
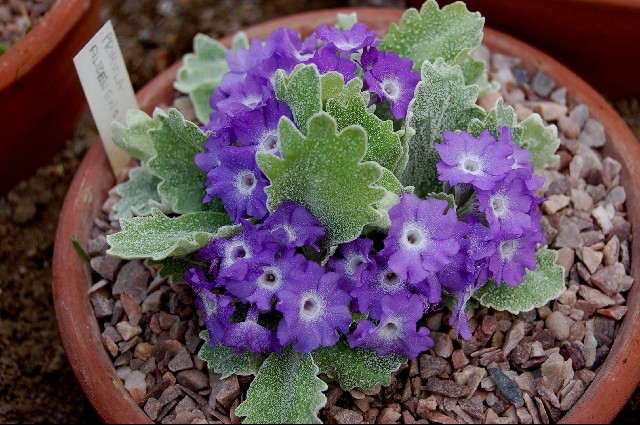
I grow Primula albenensis, that remarkable fairly recently discovered endemic from the south-western Italian Alps. However, I wish I could grow it as well as that expert exhibitor from Stocksfield, only about six miles east of me, George Young. I visited George earlier this week, together with our Canadian visitor, Pam Eveleigh who is on a lecture tour and gave us a superb presentation of her native Alberta last Monday. Here is George's primula.
George has a massive collection of well grown plants in pots in a considerable collection of alpine houses. You would think that his most recent one, figured here, would be sufficient as it is the largest amateur alpine house I think I have seen, but this is just one of many!
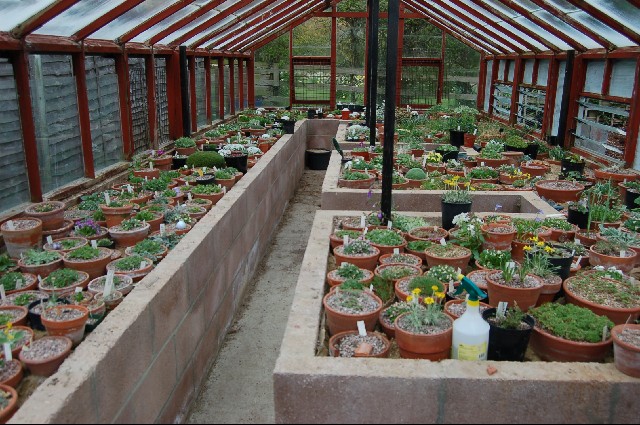
Two individual things I noticed about George's collection. One is that he does not fully plunge his pots as I do, but only the bottom quarter is sunk in the sand. Then again, he does not use automatic watering as I do. This may be to facilitate easy handling of the pots, as he manhandles hundreds of pots outside every day, and then back again at night. What dedication! It reminded me of a farmer, fetching his beasts in and out every day, and as George is a vet, maybe this is where it comes from!
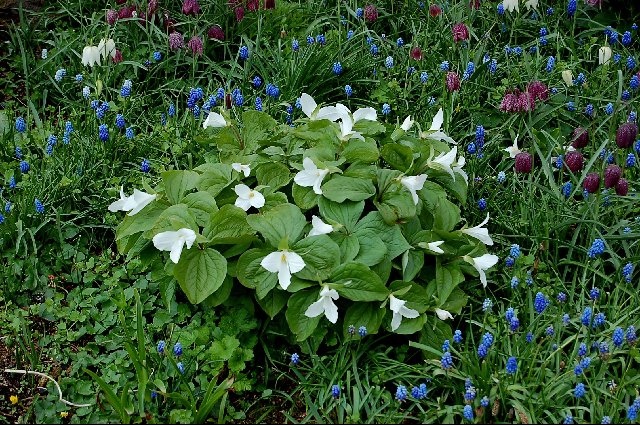
George has a lovely garden too, and I am finishing with a picture of just a small part of his superb collection of spring bulbs in which trillums and fritillarias play a major role. Many of his trilliums were raised from his own seed, and form a bewildering range of hybrids, whose parentage can only be guessed at!